The Sketch Challenge.
The Color Challenge.
The Sketch.

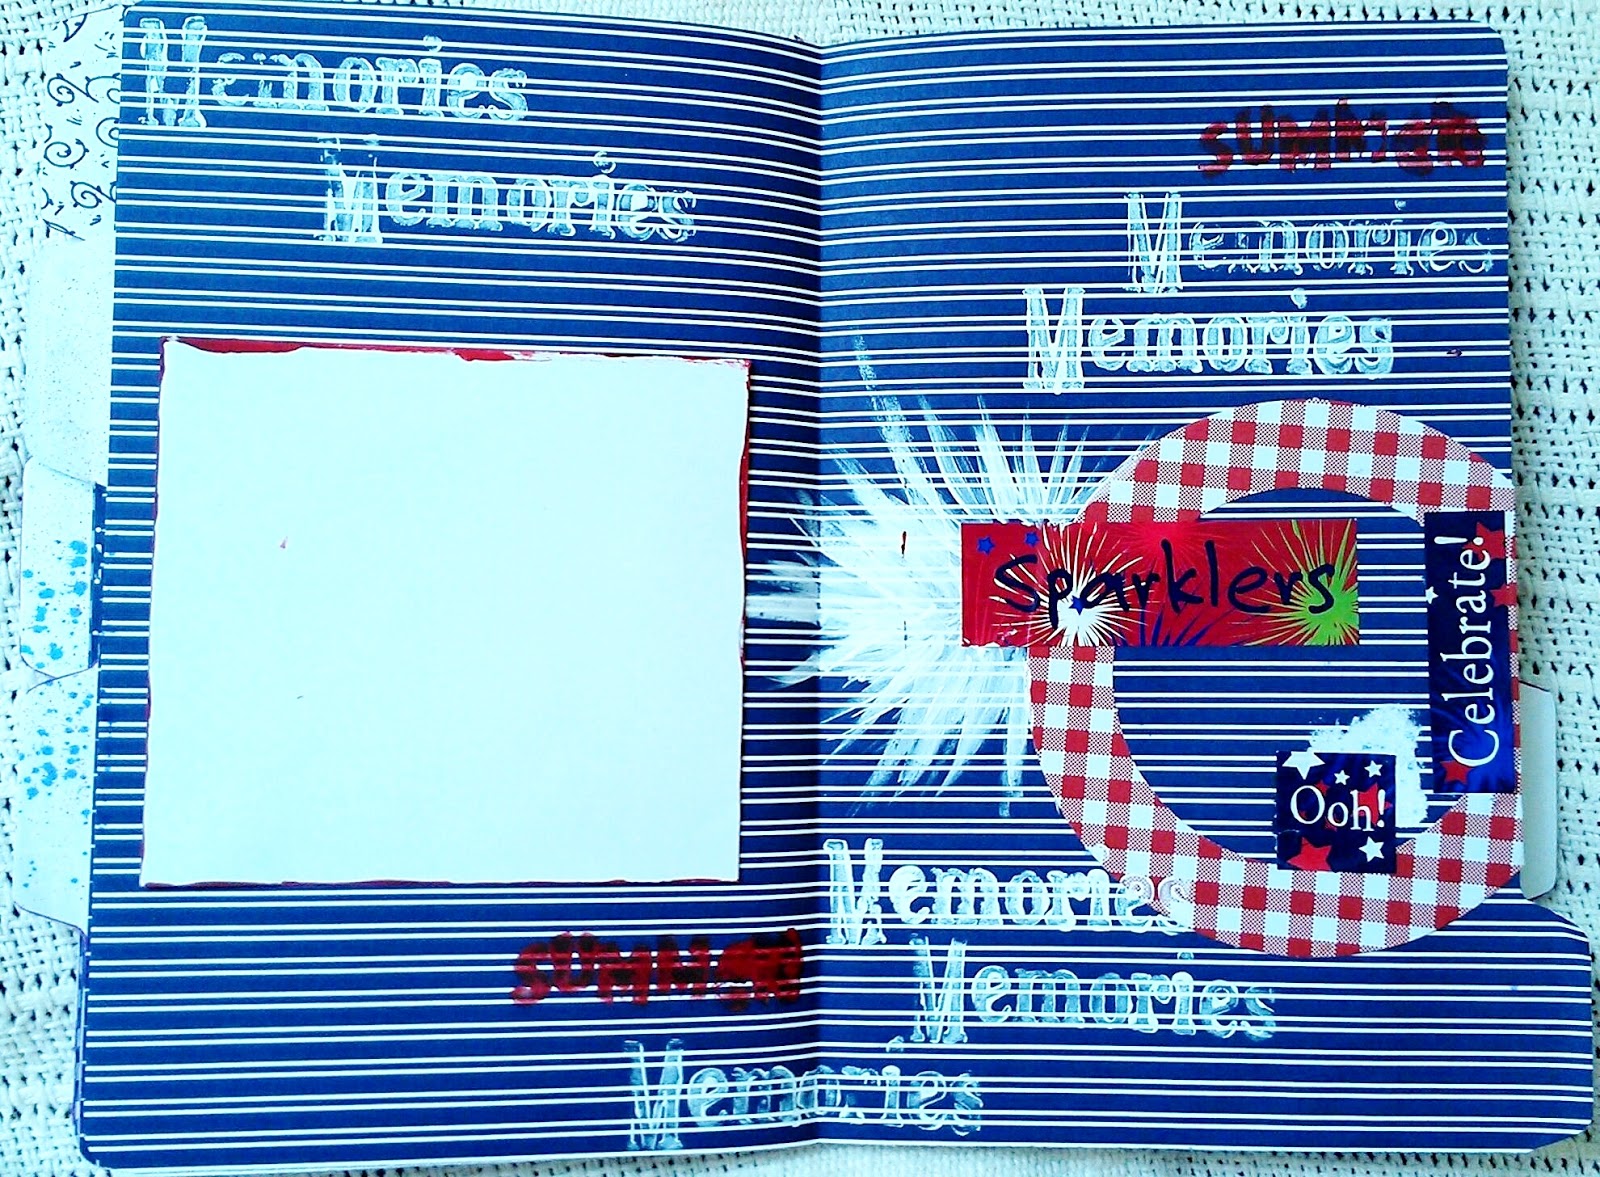
My page:

The supplies:
Patterned paper, cardstock, craft cardstock from packaging, Sharpie, chipboard title and leaves by The Paper Studio, metal leaf brad


Snickerdoodles
Yield: 2 1/2 to 3 dozen cookies
Ingredients:
1 and 3/4 cups + 2 tablespoons all-purpose flour
1/8 teaspoon baking soda
1/4 teaspoon cream of tartar
1/8 teaspoon salt
1/2 cup butter (one stick), room temperature
1 cup sugar
1 egg
2 tablespoons milk
pinch of vanilla powder (or 1/2 teaspoon vanilla extract)
3 tablespoons sugar
1 teaspoon cinnamon
Directions:
Preheat oven to 375 degrees F. Line a cookie sheet with parchment paper.
In a small bowl, whisk together flour, baking soda, cream of tartar, and salt. Set aside.
In a large bowl, beat butter for 30 seconds until creamy. Add sugar, and beat until light and fluffy. Add egg, milk, and vanilla, and beat until well combined.
Gradually pour in dry ingredients, beating after each addition, until well blended. Dough will be slightly sticky, but workable.
In a small bowl, combine 3 tablespoons sugar and 1 teaspoon cinnamon. Shape dough into 1" balls, then roll into cinnamon-sugar mixture. Place on prepared cookie sheet and flatten slightly with the bottom of a glass.
Bake for about 8 minutes. Let cool on cookie sheet for 5 minutes, before transferring to a wire rack to cool completely.

 Title: Spark
 About
Karyn Pearson:
About
Karyn Pearson: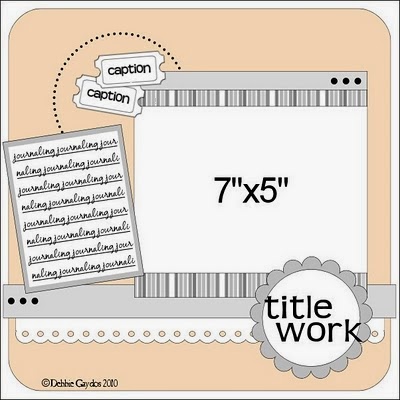


 Extremely Loud and Incredibly Close by Jonathan Safran Foer


 I started getting out the ingredients, but of course, as
soon as I did, I realized I didn’t have most of what I needed. But I’m the
queen of substitution, so I stuck with it. Instead of black beans, I used a can
of great northern beans, which was all we had. I thought it might be a little
weird in tacos, but by the time it was all made and piled high with toppings (*see pic), you couldn’t really taste the
beans, anyway.
I started getting out the ingredients, but of course, as
soon as I did, I realized I didn’t have most of what I needed. But I’m the
queen of substitution, so I stuck with it. Instead of black beans, I used a can
of great northern beans, which was all we had. I thought it might be a little
weird in tacos, but by the time it was all made and piled high with toppings (*see pic), you couldn’t really taste the
beans, anyway. I went to get the tortillas from the fridge, only to find
that we had only two white corn tortillas, somewhat fused together. I live on
tortillas! There are always about 3 bags of them floating around the fridge.
But of course the one time I need them for a recipe, we are out. I pried apart
the two remaining tortillas and cooked them as directed. I don’t know how the
recipe’s original cook fit half a cup of beans in a corn tortilla, but I would
like to know! I put maybe half that in each of mine, and it still spilled out while cooking.
I went to get the tortillas from the fridge, only to find
that we had only two white corn tortillas, somewhat fused together. I live on
tortillas! There are always about 3 bags of them floating around the fridge.
But of course the one time I need them for a recipe, we are out. I pried apart
the two remaining tortillas and cooked them as directed. I don’t know how the
recipe’s original cook fit half a cup of beans in a corn tortilla, but I would
like to know! I put maybe half that in each of mine, and it still spilled out while cooking.


 This week's man-crush is Hunter Hayes. Feast your eyes.

 He is super duper hot when he sings. Go look up his video if you don't believe me. I'll post this link so you don't have to go far. And this other picture, well, it's just because every girl loves a guy with a guitar, right?


