Showing posts with label mini-album. Show all posts

Sunday, November 24, 2013

Scrappy Sunday: Nearly Naked December Daily, Part 1

This is the first year I've decided to participate in the December Daily project that Ali Edwards (and many others) does every year. I don't do mini albums very well, and I love adding lots of pictures, so I went with 8.5x11, which is about as close to mini as I get.


First page and ATC by Paper Studio, holly sticker by ?
Unfortunately, I'm very slow and unorganized about scrapping, so it took me 6 hours yesterday just to get all my Christmas stuff together, decide what order it went in, make sure I had pages for each day, cut them to size and bind them all.

It was also the first time I used my bind-it-all machine, and as you can see, I am still learning it! I punched a bunch of extra holes, messed up on some of them, etc. I think I had it down by the end, but I already had made my album look all sloppy. But I forged ahead anyway, since I didn't have more chipboard for the covers and I wanted to stick with the paper I'd chosen. So it's going to be a messy project! I wasn't very picky about my paper selection, as you can see. I cut some envelopes in half so they'd fit, but most of the pages are full sized layouts and mats that I bound in for extra photos. I probably should have made sure all the tones matched, but I threw a few extras in there that didn't match very well. I have a lot of family birthdays in December, and I didn't want my paper to be too 'Christmas-y' on those days. So there's some pink pastel pages in there as well as more traditional Christmas paper and distressed looking pages.

Added half a silver envelope by DCWV.
I've noticed that most of the December Daily albums I've looked at only go through Christmas, but that's not really daily for all of December, so I continued until New Year's Eve. I will probably leave that page how it is, because I love that paper, and put my pics on the inside of the back cover. If I need more photo space, I can always paste in more envelopes or a waterfall somewhere.
 I haven't done the embellishing yet, so this is probably going to be a 2 or 3 part post. I will post later once I've embellished.


Happy scrapping!
Sunday, September 15, 2013

Scrappy Sunday: Fourth of July mini-album (Project Pinterest #8)

Hey, guys,

Here is something I've been working on for a while. I'm an incredibly slow scrapper, so this one took me several hours on several different days. But, I think it turned out okay. Not nearly as fabulous and vibrant as the original, but it served its purpose. The original can be seen here, but its all written in what appears to be German, so no instructions if you're an English speaker. But, the pictures were enough for me to do a good adaptation.


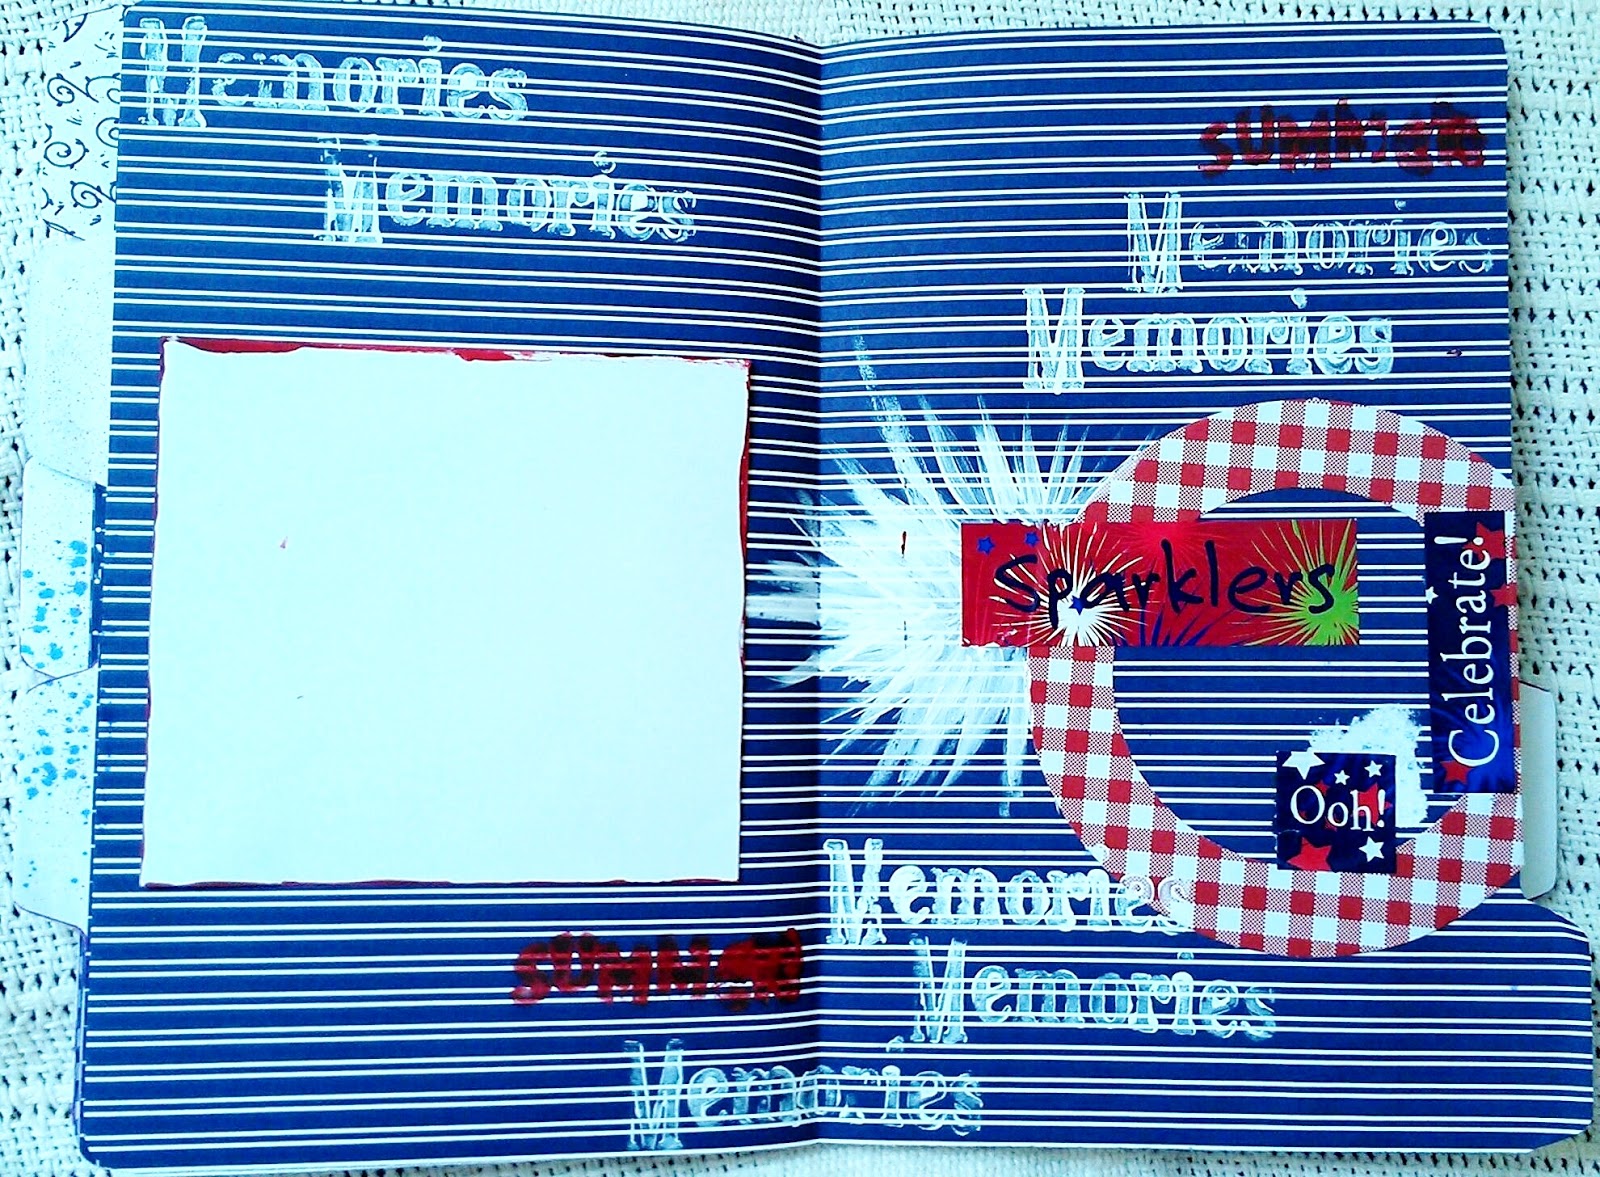
I accidentally did page 1 first, so that became my cover, and later on, I put the cover inside as one of the layouts. This is the front of the album. I used regular pattern paper, but if I was going to do it again, I would use cardstock for the covers at least. I used a file folder design for this. You can see all the tabs. I ran a strip of washi tape along the binding and between each page to hold it all together.

I used paper from Hot Off the Press (navy packet) throughout. The tape is Washi, spray ink by SEI, and my dymo label maker. 
Here's the first layout. I used a bookmark for an accent. Circle punch (Paper Studio), stamp and circle frame (Target dollar bin), acrylic paint (Making Memories), washi tape, index card, and sticker (colorbok).
This layout has a photo mat, but I didn't put the pics in yet. It fits mostly 4x4 pics. Other supplies: Acrylic paint (Anita's, Making Memories), index card, label maker, sticker (DCWV), staples

Other supplies: oval frame (part of navy kit), brad, stamps (stampabilities, autumn leaves), sticker (Colorbok), washi tape

Other supplies: USA sticker, chipboard star (paper studio), punch
Light blue journaling block (Target dollar bin), stickers (Colorbok), chipboard (Paper Studio)
Additional supplies: Memories Stamp (Hampton Arts)

Additional supplies: journaling spot, stickers (Target dollar bin)

I left some of the pages simple, and really decorated some of them. I left spots open for at least one photo on each page, as well as space for journaling strips, which I will print, cut out, and in after the photos are glued in.

This project was super fun to make. Messy, with all the spray ink and paint.

Happy creating, all!