Showing posts with label Fourth of July. Show all posts

Friday, July 4, 2014

Disaster Chef: Foodie Friday: Barbecue Ribs (project pinterest)

Another search on Pinterest yielded results. This time I went in search of a ribs recipe. I've heard that ribs are hard to make, and I didn't want to use the Crock-Pot this time, since I was making them one evening after work. This was a good oven recipe that turned out great! It would be perfect for those who have to work on Fourth of July and still wanted to cook afterwards. Everyone in my family loved it and wanted more. Again, a recipe my son scorned, but then he gobbled them up.

I served them with Chinese cabbage my sister had given me from her garden. Organic veggies=yum.

You can find these ribs on my Project Pinterest board now, from the original recipe from Jenny Can Cook.


Here's her recipe:

  • one rack of baby back ribs (I had two racks of ribs from a pig my sister gave me--no idea if they are babyback or not, but they were small racks).
  • juice of one lemon (I didn't measure this, just squirted some on from one of those lemon juice lemons)
  • 1/4 cup rub (your own or my recipe below)(I used her recipe, modifications listed)
  • 1/2 cup barbeque sauce (Our favorite is Sweet Baby Ray's) or look on Jenny's website for hers.
 Rub: Here’s her rub recipe: 1/4 cup brown sugar (I used 2tbs xylitol, 2tbs black strap molasses here); 2 tsp. each of chili powder & sweet paprika; 1 tsp. each of salt, dry mustard & oregano; 1/2 tsp. each of garlic powder & onion powder (I didn't have these, so I slice a couple cloves of garlic and scattered it on top before the ribs cooked); 1/4 tsp. pepper

  1. Preheat oven to 300° F.
  2. Remove excess fat from ribs. Peel the silver skin off the back of the ribs - lift with a sharp knife and grab with a paper towel to remove (I don't even know what this means, so I didn't do it!)
  3. Cut ribs apart into individual pieces.
  4. Rub ribs all over with lemon juice.
  5. Coat ribs with dry rub. Place meat side down in large baking pan, & cover tightly with foil, shiny side out.
  6. Bake in the oven for 2 1/2 hours.
  7. Remove from oven & pour off liquid (didn't pour off liquid, but just b/c I forgot and there wasn't much liquid in the pan, anyway)
  8. Brush bbq sauce over all sides of ribs.
  9. Grill: To finish ribs on the grill, remove from the pan and place ribs on the grill (I use a basket over direct but low heat) basting and turning a few times for about 10 minutes.
  10. Oven: To finish ribs in the oven, set oven to broil and return ribs to the same oven rack, basting and broiling about 5 minutes per side, watching so they don’t burn. They will be so tender, it’s best to turn them using gloved hands. (I used the oven and they turned out great!)
    Ribs and Chinese Cabbage.
 So, another non-disastrous recipe! That's two in a row. Maybe I'm getting better at this whole cooking thing (or at least choosing recipes).

Sunday, September 15, 2013

Scrappy Sunday: Fourth of July mini-album (Project Pinterest #8)

Hey, guys,

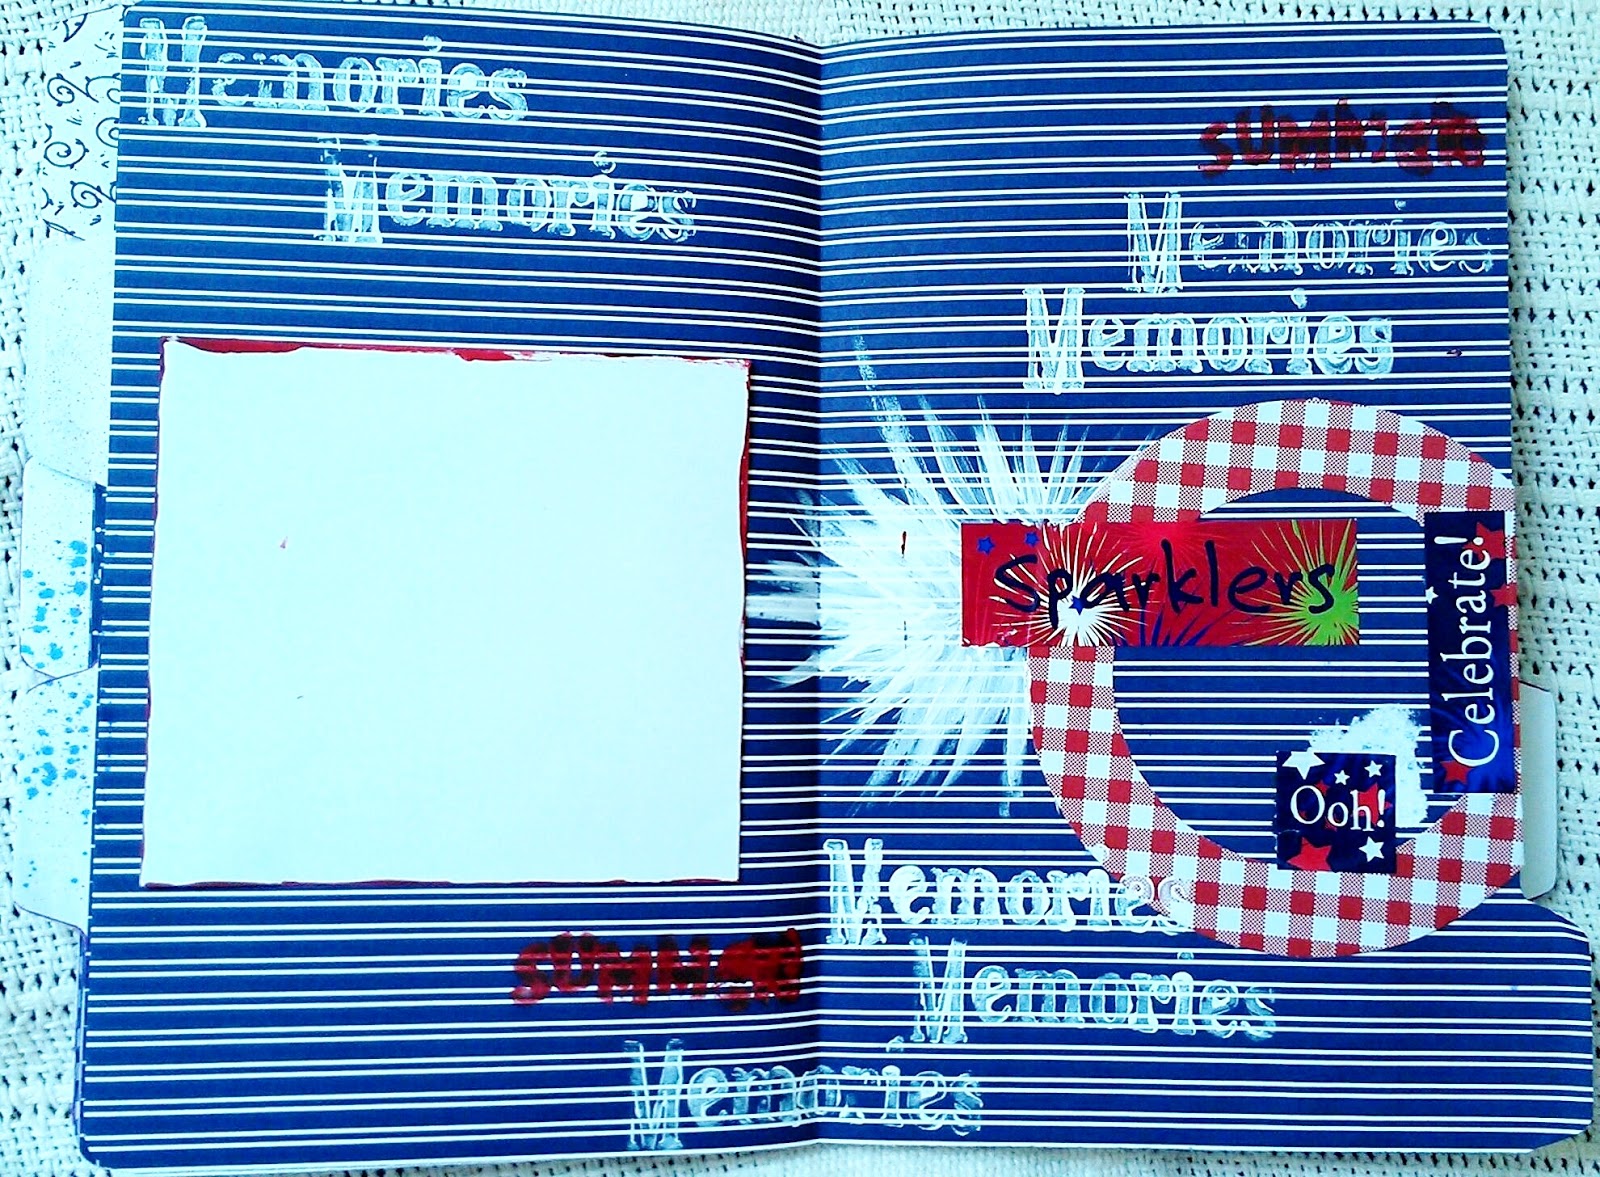
Here is something I've been working on for a while. I'm an incredibly slow scrapper, so this one took me several hours on several different days. But, I think it turned out okay. Not nearly as fabulous and vibrant as the original, but it served its purpose. The original can be seen here, but its all written in what appears to be German, so no instructions if you're an English speaker. But, the pictures were enough for me to do a good adaptation.


I accidentally did page 1 first, so that became my cover, and later on, I put the cover inside as one of the layouts. This is the front of the album. I used regular pattern paper, but if I was going to do it again, I would use cardstock for the covers at least. I used a file folder design for this. You can see all the tabs. I ran a strip of washi tape along the binding and between each page to hold it all together.

I used paper from Hot Off the Press (navy packet) throughout. The tape is Washi, spray ink by SEI, and my dymo label maker. 
Here's the first layout. I used a bookmark for an accent. Circle punch (Paper Studio), stamp and circle frame (Target dollar bin), acrylic paint (Making Memories), washi tape, index card, and sticker (colorbok).
This layout has a photo mat, but I didn't put the pics in yet. It fits mostly 4x4 pics. Other supplies: Acrylic paint (Anita's, Making Memories), index card, label maker, sticker (DCWV), staples

Other supplies: oval frame (part of navy kit), brad, stamps (stampabilities, autumn leaves), sticker (Colorbok), washi tape

Other supplies: USA sticker, chipboard star (paper studio), punch
Light blue journaling block (Target dollar bin), stickers (Colorbok), chipboard (Paper Studio)
Additional supplies: Memories Stamp (Hampton Arts)

Additional supplies: journaling spot, stickers (Target dollar bin)

I left some of the pages simple, and really decorated some of them. I left spots open for at least one photo on each page, as well as space for journaling strips, which I will print, cut out, and in after the photos are glued in.

This project was super fun to make. Messy, with all the spray ink and paint.

Happy creating, all!


Monday, August 5, 2013

Manicure Monday! (Pinterest Project #2)

If you've been following my blog, you know I'm writing personal stuff now, more or less. So, here is the next pin I've done in Project Pinterest. This one was a patriotic nail I did. I actually cheated, because I did this one a while back, for the Fourth of July.

I'm not much of a nail-painter, and I have to say, I'm not very good at it! I tried to do a nail project off Pinterest last year and it was an epic fail. I ended up with spilled vodka and torn up newspaper all over my bathroom floor. This time, I tried for something a little less ambitious. I found a pin with ten patriot nail projects. I picked one that looked relatively easy, abandoned any ideas on making stars, and went for silver instead of white, because that's what I had. I didn't try to get perfect stripes, either. I like this one, because I could totally use it for candy-cane stripes at Christmas, too. Here's how they looked.

I painted a couple coats of silver (Gabriel brand) on first, then did the red stripes. Then added blue (Gabriel again) on a nail of each hand, then free-handed the silver dots. I figured everyone would know what they were supposed to be, even if they weren't perfect little stars!


 The silver polish has a foil-like texture after it dries, and a whole fingernail of paint came off in one big flake the second day! You can see in the bottom pic that the little finger is not painted...it's because the paint fell off! I know they look all sloppy compared to people who use stencils and have fake nails and all that. But, I'm not a professional. I just did it for fun, and I liked the way it turned out. I even did my toes after I finished the fingernails. I felt so festive, and got lots of compliments. I may even do a different one next year!